This is helpful if you are not able to connect to a wireless network that is not displaying its SSID. This is also useful when you want to hide your network from others.
Note: You will need to know your network settings, SSID, encryption, and encryption code.
Windows XP Service Pack 2 (SP2) is not required for wireless networking, but it does make setting one up much easier. SP2 also helps protect you against viruses, worms, and other Internet intruders. To install SP2, visit Microsoft Update. The steps below apply only if you’re using SP2. Windows XP will show an icon with a notification that says it has found wireless networks.
Setup steps:
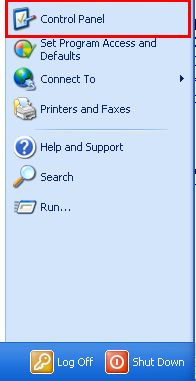
1. Click the Start button and select "Control Panel".
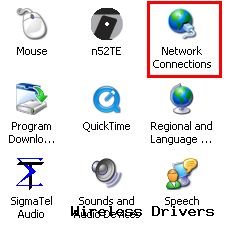
2. Double-click on "Network Connections".
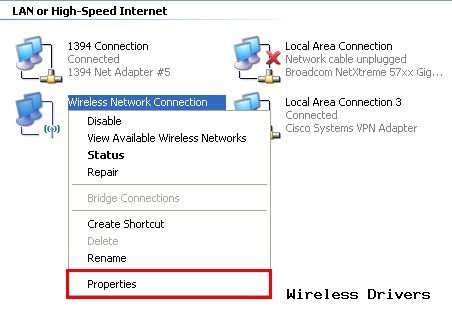
3. Right-click "Wireless Network Connection" and select Properties.
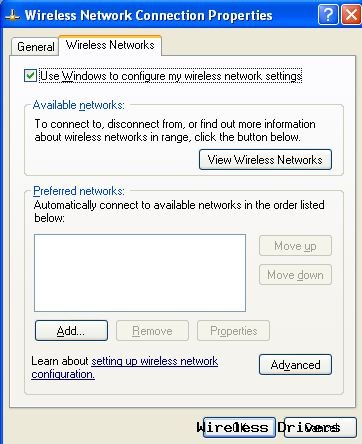
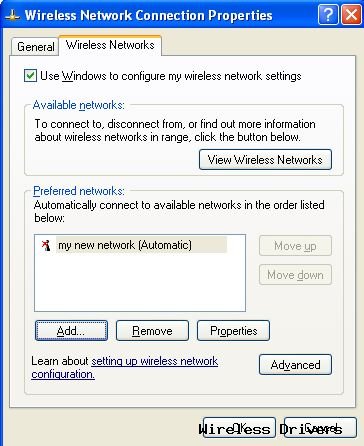
4. Select the "Wireless Networks" tab. Be sure the option "Use Windows to configure my wireless network settings" is checked and then click the Add button.
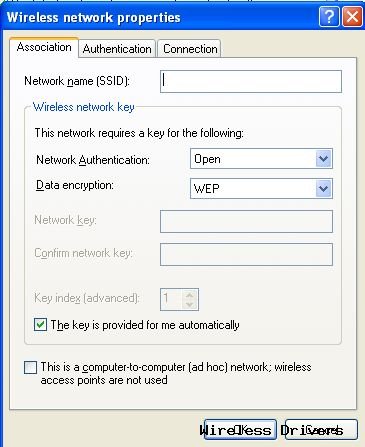
5. Enter your network settings:
a. Network name (SSID)
b. Use the drop-down menu and select your security level (Open for no security, or WEP, WPA, or WPA2)
c. Uncheck "The key is provided for me automatically". (This enables you to input your encryption key/passphrase.)
d. Click OK.
6. Confirm your network is listed in "Preferred Networks" and click OK.
Your computer will now connect to the hidden wireless network.
No comments:
Post a Comment